
Renovation advice
Planning a Refurbishment in an Older Islington Home
Practical checks before you plan the work.
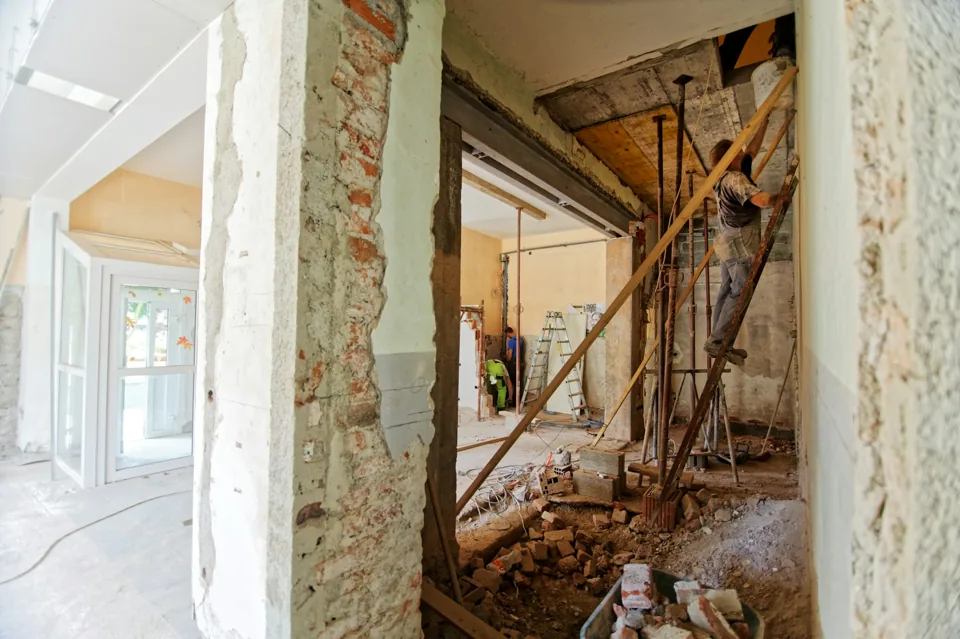
An older home can need several kinds of work at once. Worn finishes are easy to see, while problems with wiring, plumbing or damp may become clear only when rooms are opened up. Separate the property’s condition from the improvements you would like to make.
Start with a room-by-room condition list
Note leaks, damaged plaster, draughts, uneven floors and fittings that no longer work properly. Record what you want to retain as well as replace. Photographs help explain the starting point, but cannot replace an inspection where the cause of a problem is uncertain.
Decide which features deserve care
Original doors, cornices, fireplaces and floorboards may be part of the home’s appeal. Tell the contractor which features must be protected before stripping out starts. Repairing an existing item and replacing it are different jobs, so describe the intended result clearly. A cleaner interior does not require every old feature to go.

Check property restrictions early
An Islington address does not establish whether the building is listed or in a conservation area. Check the specific property and proposed changes. The council’s conservation area guidance explains why some external alterations need further checks. Leasehold homes may also need consent from the freeholder or managing agent.
Put hidden work ahead of finishes
Discuss the sequence for services, structural alterations, wall preparation, floors and decoration. Repainting first may mean paying twice if pipes or cables then need replacing. Decide which rooms can be worked on together and whether remaining at home is practical. A phased project still needs a joined-up plan.
Keep changes in writing
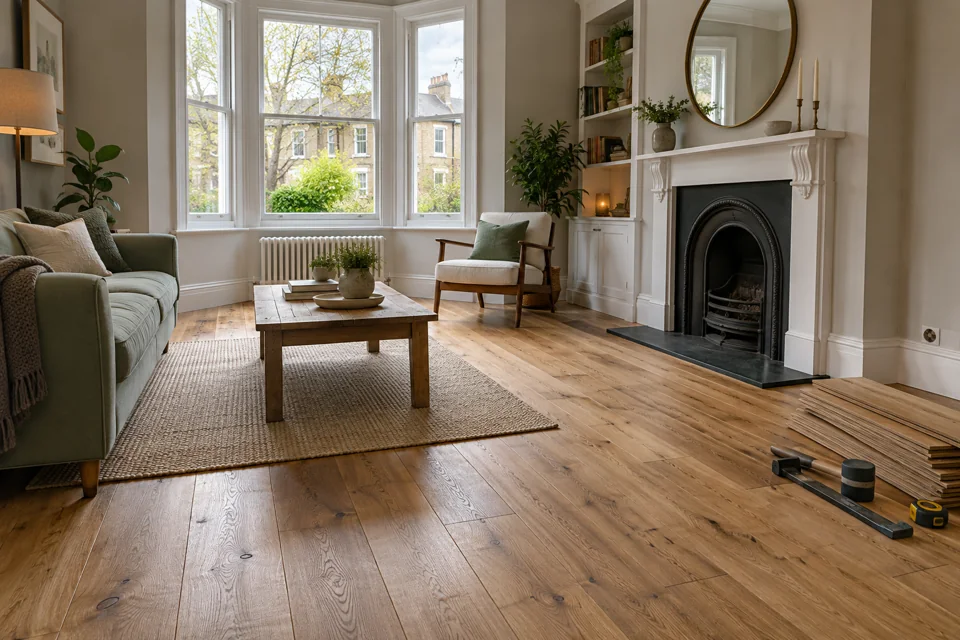
Agree a room schedule describing the work, products, exclusions and expected finish. Older properties can reveal defects not visible during the first visit. Ask how findings will be documented and additional work approved. A clear change process is more useful than a vague promise that everything is included.
Deciding whether to stay during the work
Living through a refurbishment depends on which rooms and services remain usable. Ask about a working bathroom, cooking arrangements, dust separation and a clear route through the property. If work is phased, identify which finished areas will need to be crossed again for deliveries. Moving possessions twice can make a supposedly simpler sequence inconvenient.
Build a handover file as you go
Keep the agreed room schedule, product details, change approvals and relevant completion documents in one folder. Record which paint and flooring were used in each room. At handover, walk through the scope room by room and list anything outstanding. This is easier than trying to remember every small decision after furniture has been moved back.
Your checklist before work starts
- Separate existing defects from design wishes.
- Mark features to retain and protect.
- Check property-specific permissions and lease terms.
- Agree the sequence and approval process for changes.
For the work itself, see our house refurbishments service. To discuss your property, contact us or call 020 3026 9485.